Front suspension
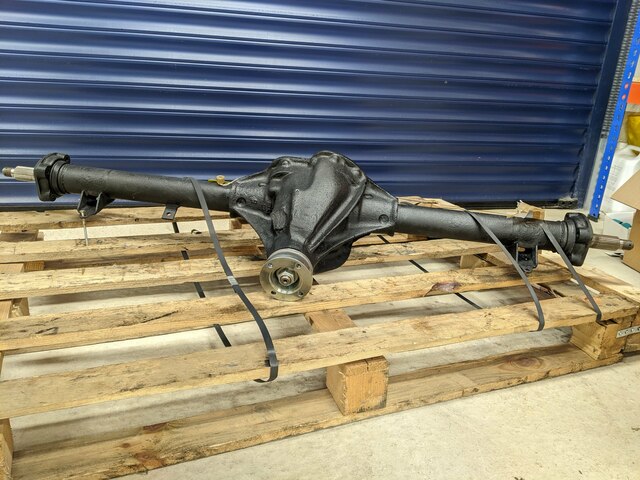
Despite lots more distractions with exterior building work on the workshop, the build up of the front suspension is finally finished. Meanwhile, the rear axle has returned from its refurbishment, so things are lining up nicely for the next stage.
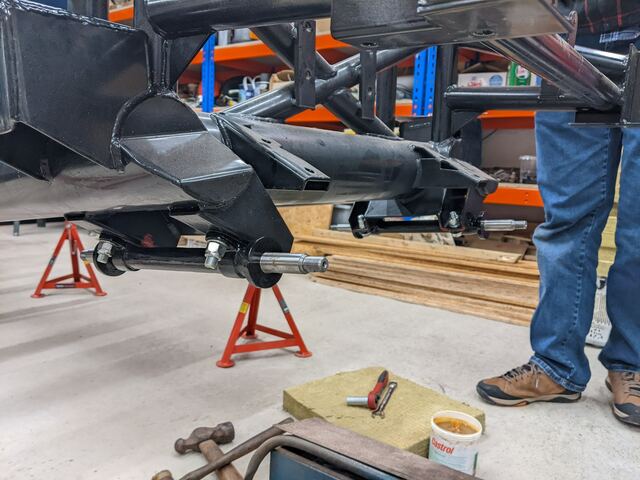
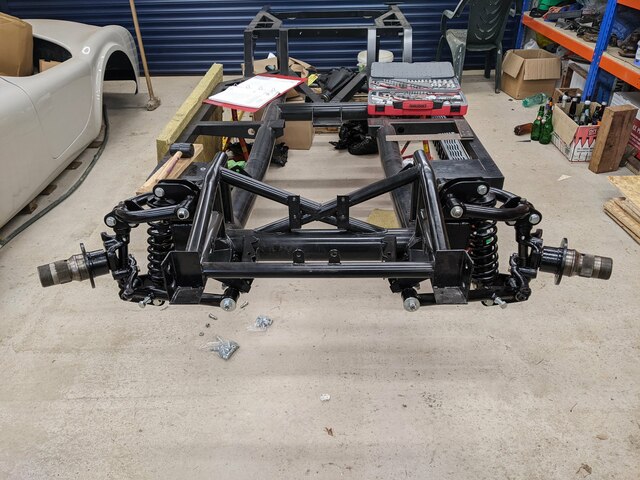
Anyway, back to the front and a major milestone … the first component bolted on to the chassis!
The wire brushing and painting continue…
Almost done…
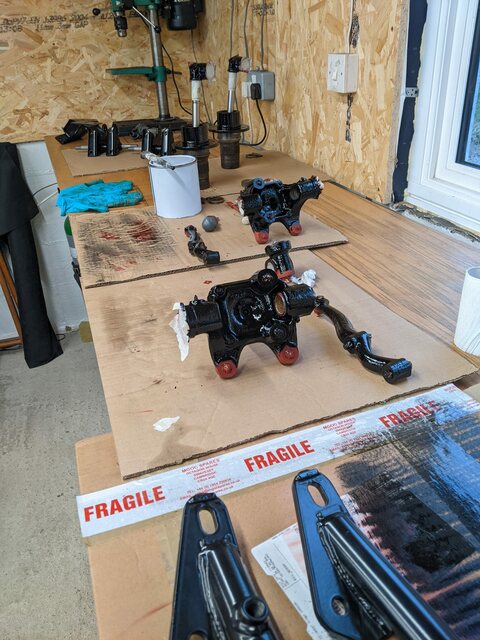
Finally, on to the fun bit - building up the front suspension assemblies. Quite a bit of time was spent getting the top suspension brackets flat and true, but after that it all went together very easily. Unlike the disassembly, the adjustable coil-over-shock design doesn’t need any scary spring compressors.
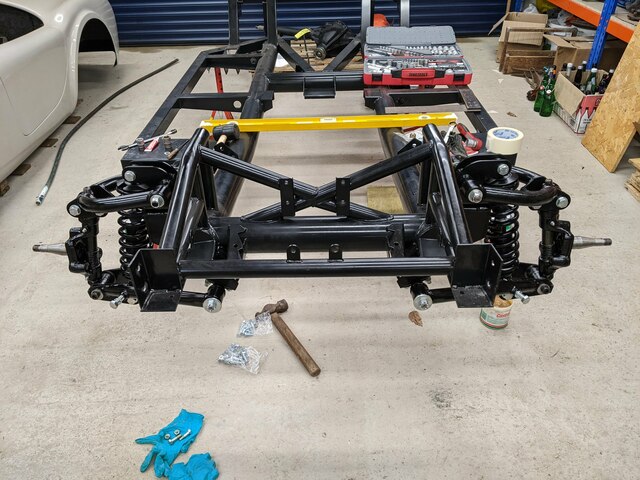
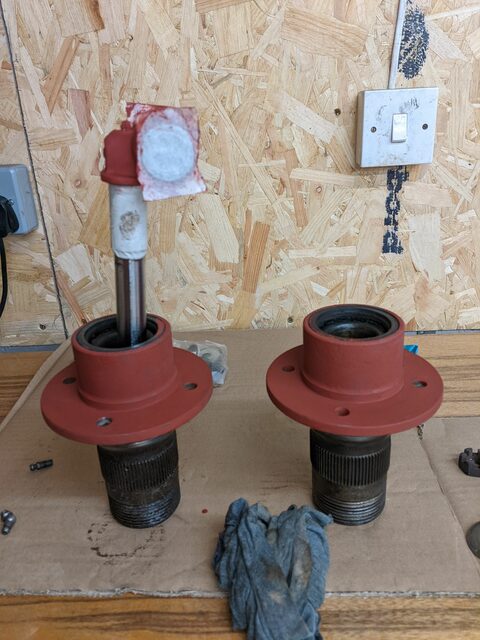
Thanks to some great videos from Andrew Mulheirn (and a dial gauge from a friend), the shimming process for fitting the front hubs was straightforward. Like Andrew, I also had a problem with one of the races not being quite driven home. After adding something like 85 thou of shims to get the correct 2 - 4 thou end float, the castle nut wasn’t far enough onto the axle to allow the split pin through easily. After a few extra taps with the bearing driver, it was back down to fifty odd thou and everything lined up nicely.
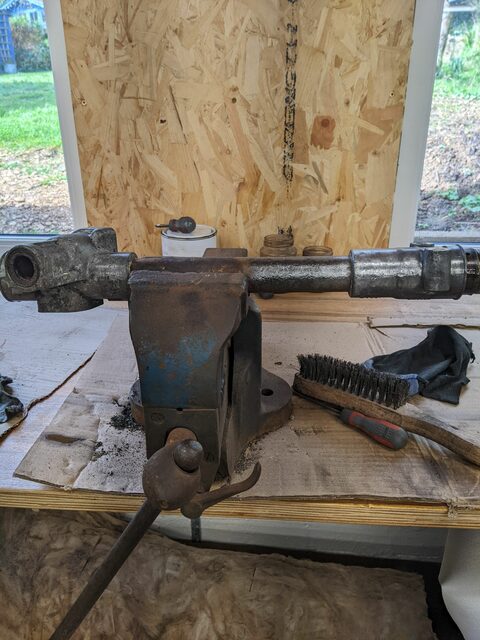
In between all this I’ve also started cleaning up the steering rack ready to re-fit the shortened steering column.