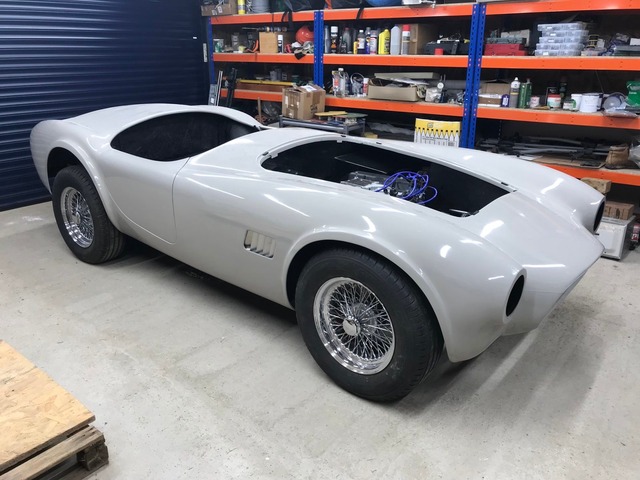
Fitting the bodyshell
Getting ready to re-fit the bodyshell involved tidying up a few loose ends.
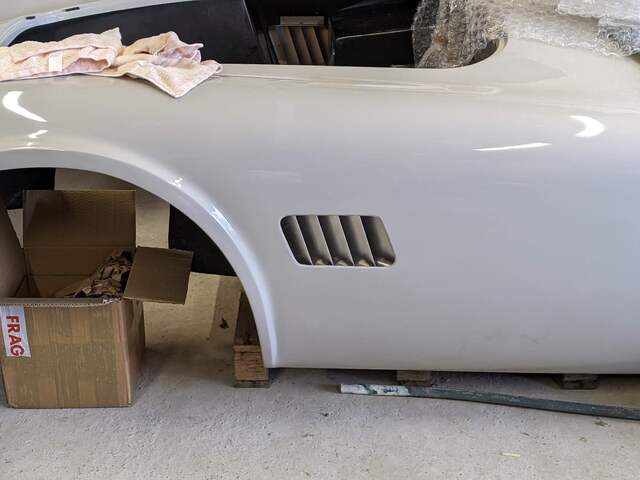
First up was fitting the side louvres. The brackets were made from a length of old right-angle section aluminium that used to be someone’s greenhouse bench. A quick stint in the vice adjusted the right-angles to suit the slightly increased and decreased angles top and bottom because the bodywork isn’t quite vertical. Then they just needed a few stainless steel screws before fixing the brackets in place with some SikaFlex, straps and wooden battens. This is definitely a job where it helps to have two or even three people involved to get everything nice and straight and avoid getting SikaFlex everywhere!
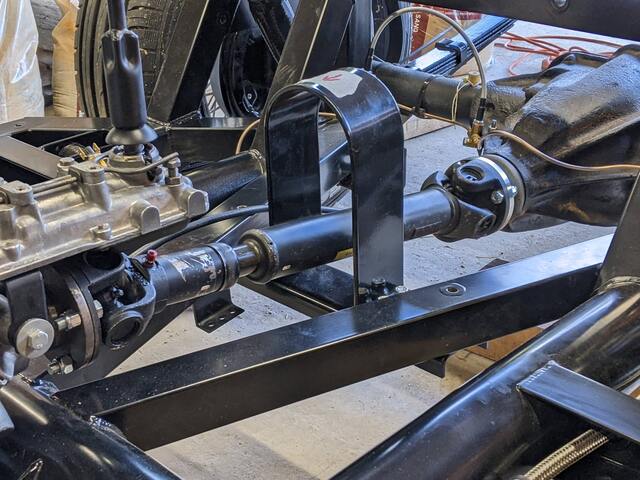
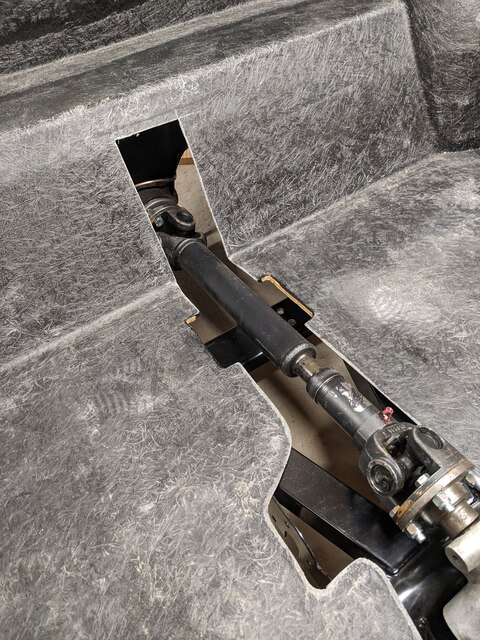
Next up was the prop shaft and safety hoop. You have to drill your own holes in the mounting bracket but it’s all pretty simple.
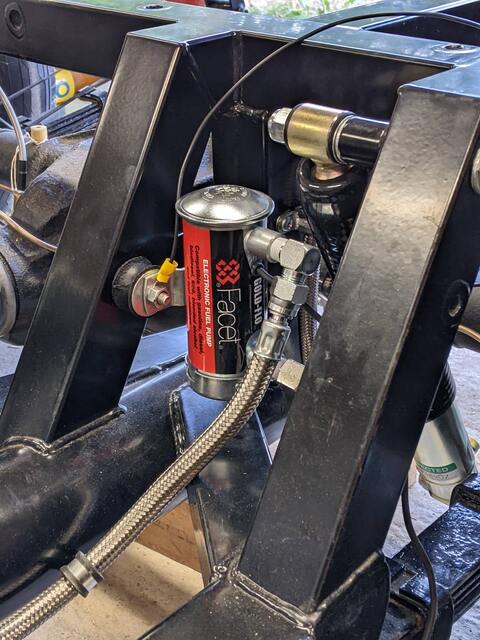
Another loose end was finalising the connections to the fuel pump. I also added an earth lead as I’m using rubber mounts for the pump. The choice to use rubber mounts came after I listened to the same pump in a friend’s car. They are suprisingly noisy! (NB. The simple crimp fixing on the earth lead was replaced a few days after this photo with a heat-shrink fixing. I don’t want to be dealing with a reluctant fuel pump on a rainy roadside verge someday!)
Finally, I called up the troops and it was on with the bodyshell … only to realise that the safety hoop was in the way so we had to lift it straight off again. It helped that there were five of us - one for each corner and one to act as a spotter.
Hoop off and the bodyshell was back on again in no time. This time it was the prop shaft that was in the way so it was sitting too high at the back.
Fortunately, cutting out a slot for the prop shaft and slots for the safety hoop could be done with the shell in situ.
All that remained was to varnish the exposed plywood in the floor and re-fit the safety hoop.