Bendy bits
More fun with wires, tubes, and seatbelts!
My first attempt at connecting the fuel supply to the carb ran afoul of the air filter. There wasn’t enough room for the straight fitting. A second rummage on the internet came up with the Edelbrock 81263 fuel line kit that includes a suitable right angle section.

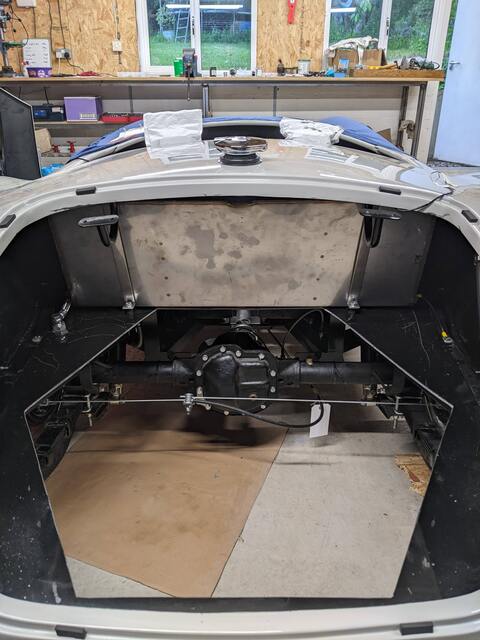
Having finished off the fuel line from the pump to the engine I was keen to get the rest of the fuel system completed. This dovetailed nicely with running the rear section of the loom. To prevent fumes from the tank breather I’ve fitted a two-way pressure release valve. It’ll let air in as the tank empties, but will also let air (and fumes) out if the pressure in the tank rises due to hot weather. It has the advantage that it can be fitted horizontally and the garish anodised aluminium hidden well out of the way, but the disadvantage is that it doesn’t provide roll-over protection. For that I’m going to rely on ensuring the end of the breather tube exits below the bottom of the tank.
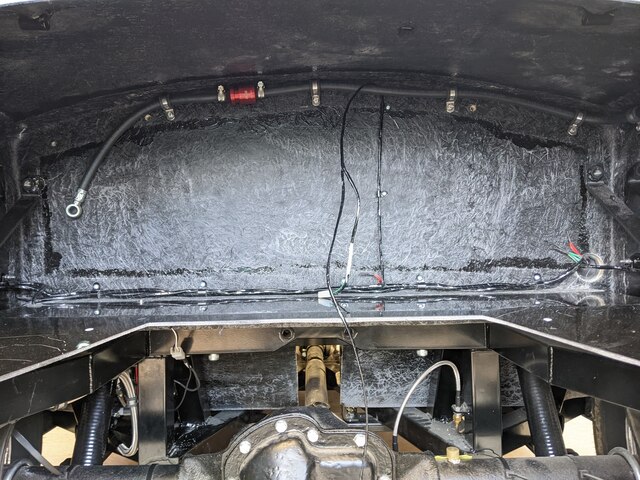
For the wiring to the number plate light that runs over the top of the tank, I bonded some P-clips to the roof of the boot.
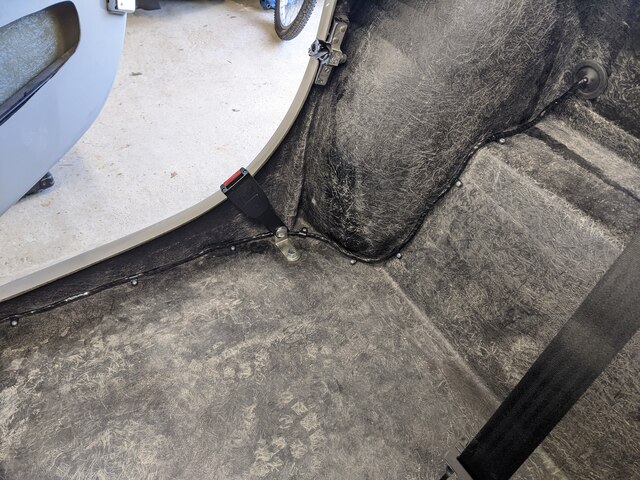
For the connections to the lights I chopped off the mismatched fittings and crimped and soldered on spade connectors that push into two and three way plugs and sockets.

Fitting the rest of the rear section of the loom was a simple matter of lots of P-clips of different sizes.
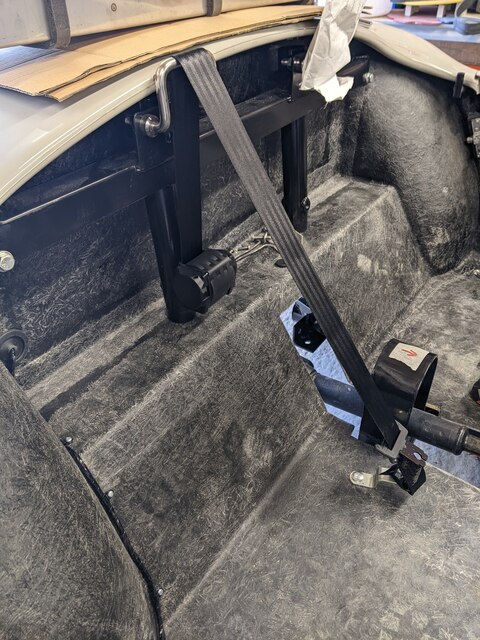
After that I fitted the driver’s seatbelt. I don’t have the passenger seatbelt yet as I wanted to check the fitment first.
With the wiring complete and the breather valve in place, finally it was time to fit the fuel level sender and then the fuel tank could go in.