Dashboard
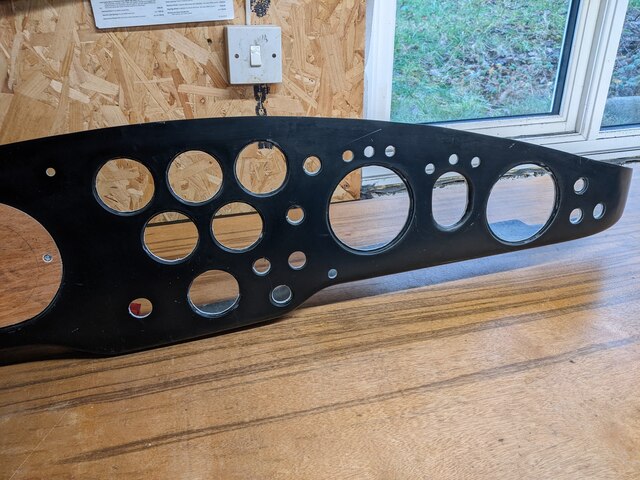
For the dashboard I’m using a standard fibreglass blank from Hawk that includes recesses for the various gauges to allow old-style bevels to pass the IVA inspection. Based on what I’ve seen in other build diaries, my plan is to cover it in foam and then vinyl… although more on that later!
The first step is rough out the relevant holes with a step drill.
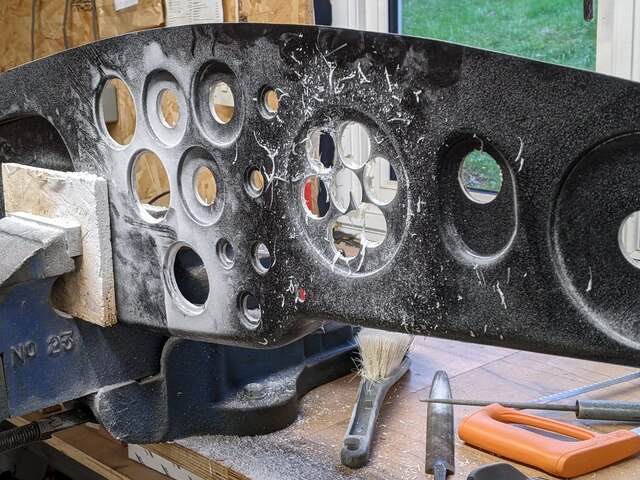
Then I used a combination of a hobby tool with a grinding wheel and various round files to expand the holes to suitable sizes. The exact sizes were determined by mocking up holes with foam and vinyl in one of the pieces of fiberglass that came from cutting out the holes for the side louvres.
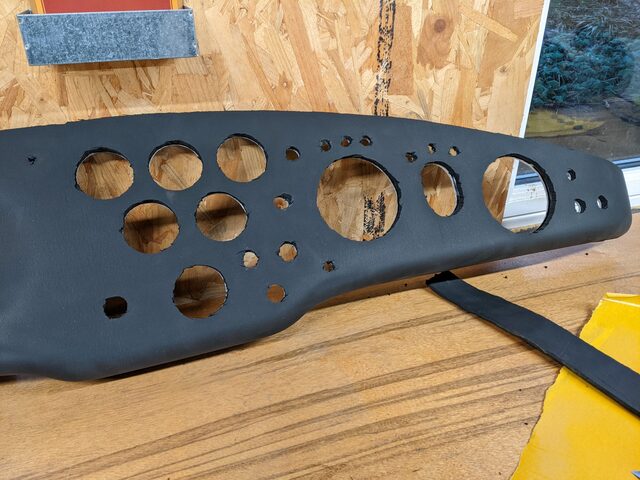
Getting the self-adhesive foam to follow the contours of the dashboard was a pretty simple job, as was cutting out the holes afterwards with a craft knife.
Wrapping vinyl over everything was a bit trickier as it isn’t as stretchy or compressible as the foam. I decided to start in the middle of the dashboard and work out towards the sides, as I didn’t think I could get a reliable, consistent tension into the vinyl by starting at one of the sides.
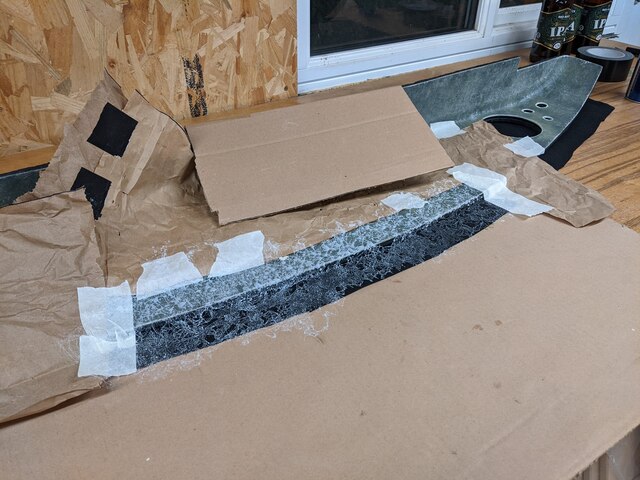
Having stuck the top and bottom edges in the middle, I just worked towards the ends in sections.
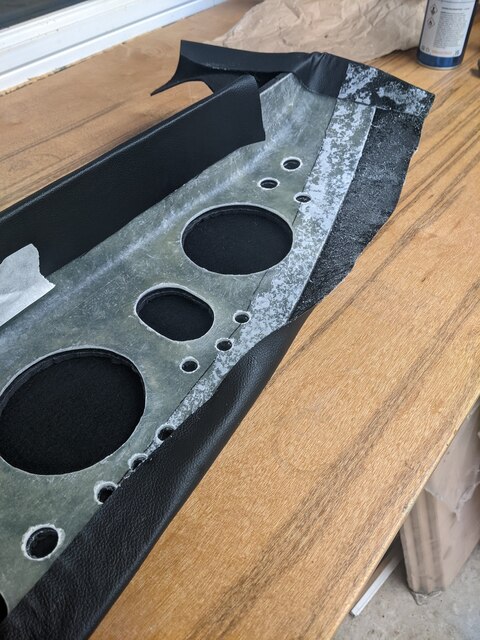
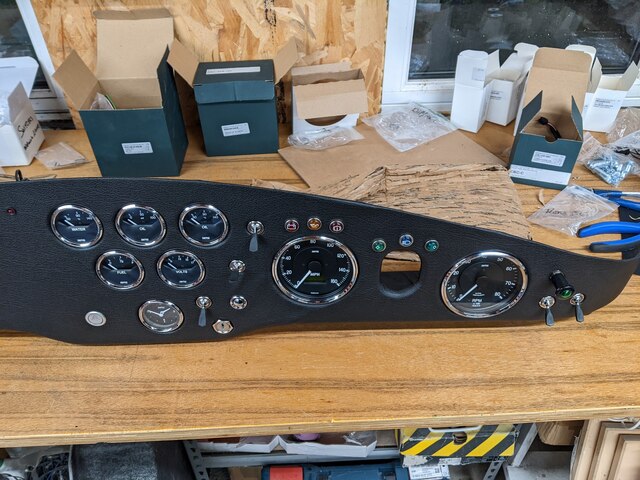
The finished article was surprisingly professional looking … albeit with the look of a modern car!

The next job was to cut and fit everything in the bench before fitting to the car. Based on all my previous mock-ups I thought this would be straightforward, but it all went horribly wrong when I tried fitting the toggle switches! I’d only done a mock-up using a flat piece of fibreglass, but the threads on the toggle switches weren’t long enough to work when the foam and vinyl was combined with the recesses in the dashboard.
After some helpful “Why on Earth are you using foam?!” feedback from members of the 289 register, I double-checked the IVA regulations and it turned out that thanks to the design of the Hawk dashboard (e.g. the large radius on the lower return) my dashboard doesn’t need padding after all! So I stripped off the foam and vinyl and reapplied a fresh layer of vinyl on its own. Bingo! Everything fits just fine. Phew!
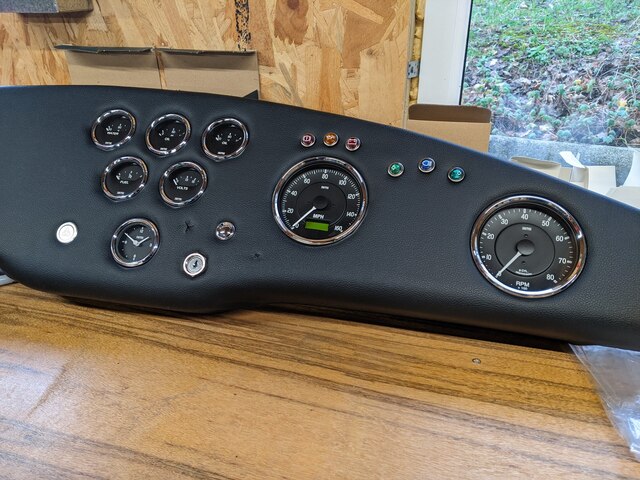
As for the layout of switches, tell-tales, etc… I prefer usability over strict reproduction, so other than the basic gauge layout I went with what makes sense to me. For example, having the indicator tell-tales either side of the steering column, having the fan control nearest the passenger, and having the dip-main toggle left-middle to make it very easy to operate whilst driving.
I used an alternative hazard switch as I didn’t like the look of the one that came with the loom. It didn’t seem to fit in aesthetically with all the other controls. The replacement switch has a simpler set of connections which required the design of a modification to the loom and the installation of a second flasher relay, but I think the effort was worth it to give me a switch I’m happy to live with.